
 Quickstart Guide
This provides your agent with access to Senpi and to trade on your behalf, at your instructions or autonomously.
Create an account on Railway with the $5 plan. (Required for hosting Senpi x OpenClaw and easy setup)
go.senpi.ai/railway →You'll need to enter 6 environment variables in the Senpi Railway Quickstart:
Railway Configuration Variables
1. Your AI API Key from OpenAI, Anthropic, Gemini, or OpenRouter
2. The name of the AI provider, all lowercase: openai, anthropic, gemini, or openrouter (all lowercase)
3. Set a password (you'll need it when accessing OpenClaw dashboard)
4. Your Telegram userID
Your Telegram user ID (numeric). To find it, open https://t.me/userinfobot on Telegram.
Click here for a more detailed guide.
5. Your Senpi Authorization Token (from the top of this page)
6. Your Telegram bot token.
- 1. Create a new Bot
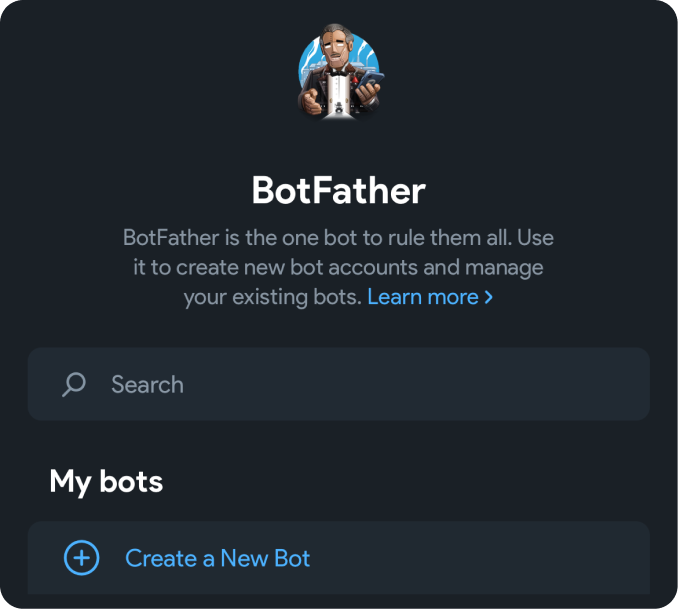
- 2. Create a new Bot
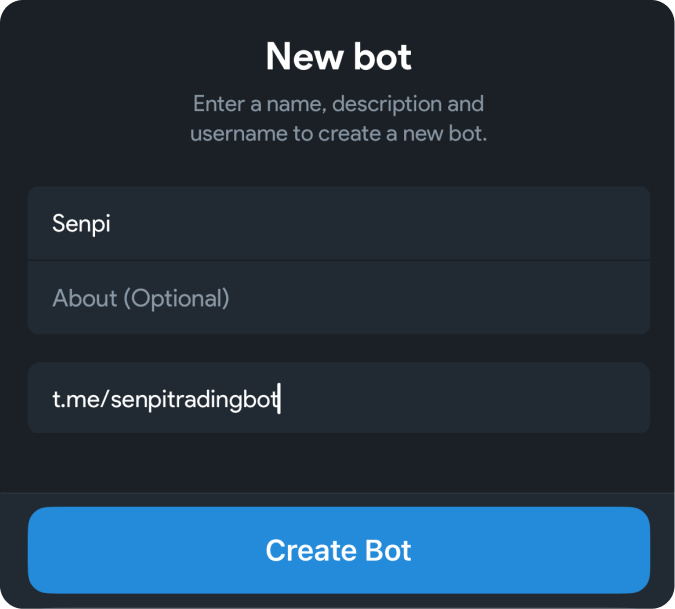
- 3. Setup bot
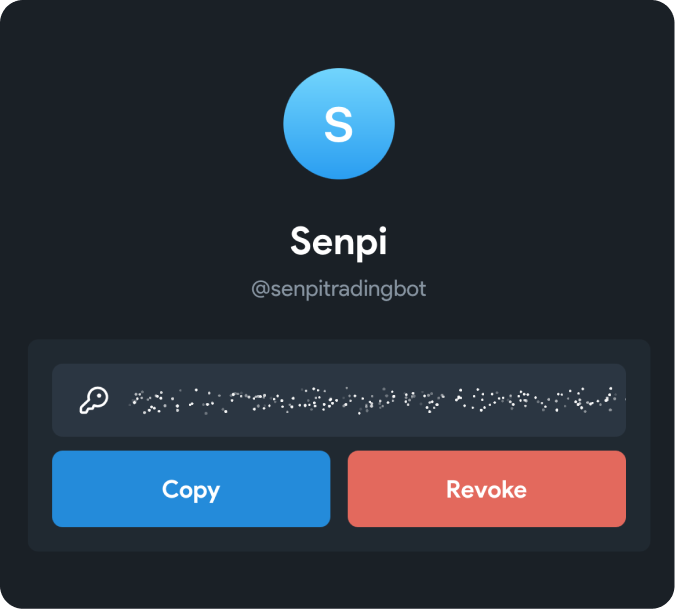
- 4. Click start

Click DEPLOY.
Bonus!
Get ahead quickly by installing Senpi skills
Senpi skills →Already Running?ADVANCED
If you already have an OpenClaw instance deployed, you can add Senpi to it instead of using the hosted quickstart above. However, this path requires manual configuration and won't receive the same automatic updates — we strongly recommend the Railway-hosted option above for the smoothest experience.
Same as Step 1 above—create a token at the top of this page. Keep it somewhere safe; you'll need it in the next step.
Add Senpi as a remote MCP server in your OpenClaw configuration. Open your openclaw.json and add the following to your agent's MCP servers:
{
   "mcpServers": {
      "senpi": {
         "url": "https://mcp.prod.senpi.ai/mcp",
         "headers": {
            "Authorization": "YOUR_SENPI_AUTH_TOKEN"
         }
      }
   }
}
Replace YOUR_SENPI_AUTH_TOKEN with the token you generated in Step 1. If your openclaw.json already has other MCP servers configured, add senpi alongside them:
{
   "mcpServers": {
      "existing-server": { ... },
      "senpi": {
         "url": "https://mcp.prod.senpi.ai/mcp",
         "headers": {
            "Authorization": "YOUR_SENPI_AUTH_TOKEN"
         }
      }
   }
}Restart your OpenClaw instance so it picks up the new MCP server configuration:
openclaw gateway restartOnce it's back online, your agent should now have access to all 31 Senpi trading tools. You can verify the connection by messaging your agent on Telegram and asking it to check your Senpi account or list available tools.